

Today I’m showing you how to make CUSTOM Coasters with Cricut Infusible Ink. It’s the perfect Cricut Holiday Gift Idea…
Plus you get a FREE Printable Template and coaster instructions!
This is a sponsored conversation written by me on behalf of Cricut. The opinions and text are all mine.

I feel like gifts for the holidays lately just keep getting harder and harder. We already have so much stuff, our friends and families have too much…I think it’s time we start making gifts and getting a little more creative.
Cricut Holiday Gift Idea
Every year for Christmas, I would ask for gift cards. I’m a maker and creator, so I like to pick out my own things. I love the idea of giving people the gift of craft – it will make things so much more memorable!
SO…I think it would be great to give these Monogram Custom Coasters as a gift, or give the gift of craft and let everyone make their own. In that case it would literally be a Cricut Holiday Gift.
So my suggestion is to have this gift giving session at your own house and have your Cricut and EasyPress easily accessible and display your Instruction Printable.
You’ll wrap up the coasters, monogram cut outs and other materials they will need to create their own custom coasters.
GUYS…I’m SO dang excited about this idea and I can’t wait for you to try it out. If you do, PLEASE TAG ME on Instagram or Facebook.

Ready to make this amazing custom coaster gift? Make sure you THOROUGHLY read these instructions along with printing out the instructions before getting started.
Infusible ink is amazing and easy to work with, but there are a few key steps that you may miss if you’re not careful.
WHAT YOU’LL NEED FOR Custom Coasters
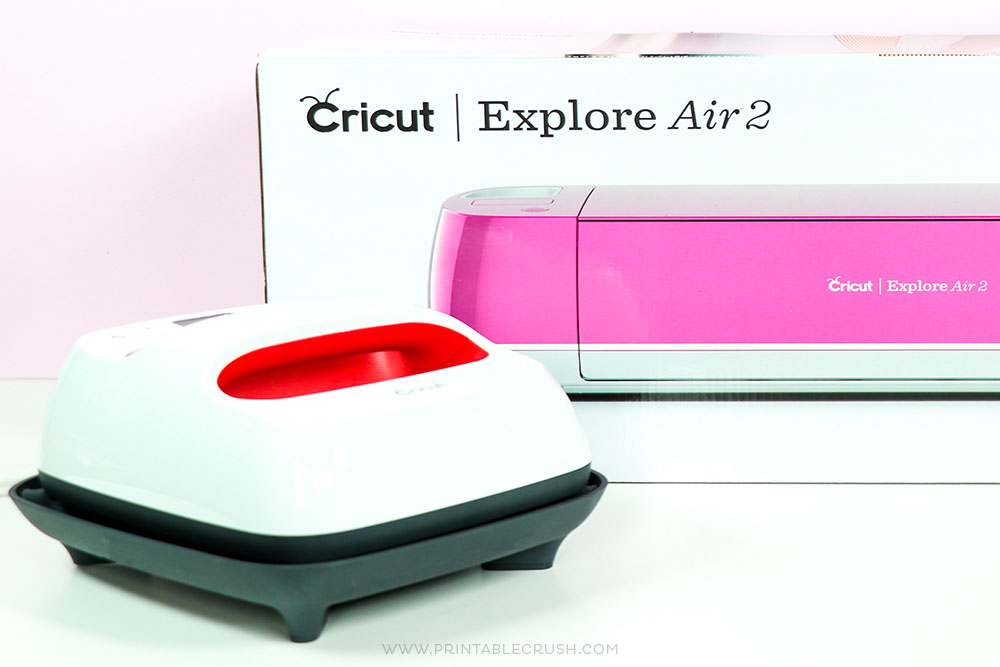
- Cutting machine like the Cricut Maker or Cricut Explore Air 2 (read more about the Maker here)
- Free Printable Pattern Templates (download at the bottom of this post)
- LightGrip Mat
- 6″ x 7″ EasyPress 2 (you can use larger sizes, too)
- EasyPress Mat
- Cricut BrightPad (optional for easier tracing)
- Cricut Cardstock or LaserJet Printing Paper
- Monogram Design in Cricut Design Space
- Lint free towel
- Round Coaster Blanks
- Infusible Ink Pens
- Heat Resistant Tape
- Butcher Paper

DIY COASTER INSTRUCTIONS FOR CRICUT INFUSIBLE INK
- Open the monogram design in Cricut Design Space. You can either cut out all the letters or click CUSTOMIZE and choose which designs to cut out. It is all ready to go, no need to resize.
- Click MAKE IT.
- At the next screen, click on the MIRROR IMAGE toggle. Anytime you have text and you’re working with Infusible Ink, the image must be mirrored.
- Choose Cardstock for your material, load the mat, then press the CUT button on your machine.
- When it’s done cutting, unload the machine and take the monograms off the mat.
- Use the BrightPad to trace your designs onto the cut out using Cricut Infusible Ink Pens and the Free printable template. Feel free to be creative!
- Wipe the top of the coaster with the lint free towel. Note: ANY residue left behind will leave a mark on your blank.
- Center your design on the coaster face down.
- Place a piece of butcher paper that’s about 1″ larger on each side of the coaster on top of your design.
- Tape the butcher paper to the coaster with heat resistant tape to hold your design in place.
- Heat up your EasyPress 2 to 400 degrees and the timer to 240 seconds.
- Place a piece of butcher paper on your EasyPress mat, then place the coaster face up on top of the butcher paper.
- Add another layer of butcher paper on top of that, then place the heated EasyPress on the coaster, then start the timer.
- Either lightly hold it in place (make sure you don’t move), or if you have a completely flat surface, you can leave it in place for 240 seconds.
- When the timer beeps, carefully lift up the EasyPress 2 and turn it off.
- DO NOT TOUCH THE COASTER UNTIL IT’S COOLED OFF! It will be extremely hot, so leave it where it is for a couple of minutes, or move it with a pot holder to a safe heat resistant surface.
- Once it’s cooled off (for real…did I mention it needs to be cooled off?), peel off the design.
- That’s it – now you have amazing, professional looking custom coasters that are ready to use!

I absolutely love the way these turned out. This will give you an idea how you can mix and match the patterns, but I can’t wait to see what you all create!
Looking for more Cricut ideas like this custom coaster? Check out these posts:
- Cricut EasyPress 2 Holiday Gift Guide
- Glitter and Felt Bow Tutorial
- Cricut Infusible Ink FAQs
- Cricut EasyPress 2 FAQs
- DIY Infusible Ink Tote Bag
- Infusible Ink T-shirt Tutorial


Leave a Reply