
Cricut Design Space has a HUGE library of amazing graphics. Use this tutorial to learn how to How to Create a Make It Now Cricut Project!

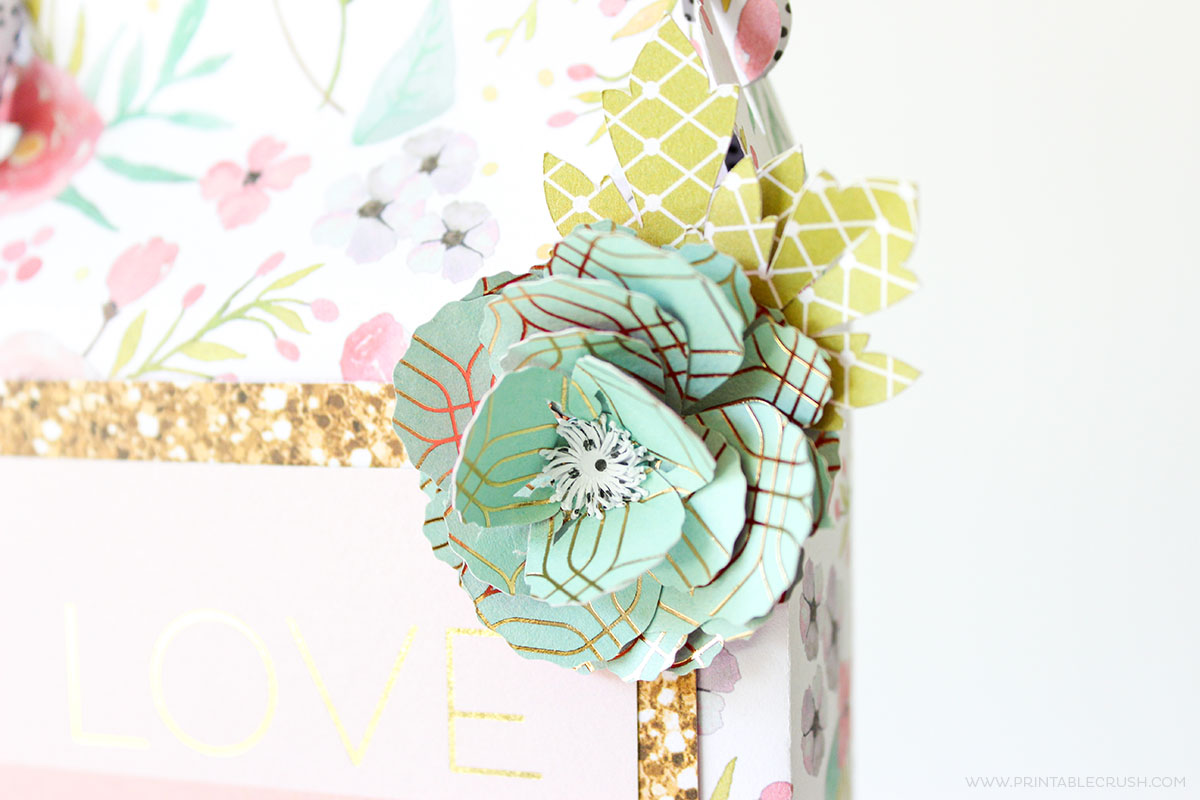
First of all…can we talk about how gorgeous that glitter paper is? Second of all, this whole project has me swooning, and I made it in minutes. Creating my own designs takes a lot of time, so it was pretty nice this once to skip that step and go right to crafting with paper with this Make It Now Cricut Project!

What you need to Create a Make It Now Cricut Project:
- Cricut Explore Air 2 (obviously)
- Cricut Design Space™
- Cricut Access Premium (for certain designs- some are free)
- Cricut Stylus Tool
- Cutting Mat
- Scrapbook Paper
- Tombow Aqua Liquid Glue

For the Box:
- First, Create a New Project in Cricut Design Space™. Once you’re in the new project, select Insert Images.
- Type BOX in the search bar and select the image you would like, then click INSERT IMAGES.
- Resize the image to the size you would like.
- Press GO.
- Before you cut, insert the Cricut Stylus Tool into the “A” side of the cut tool and snap it in.
- Press Go again, place the Scrapbook Paper
on the mat, then press the loading button. Once the “C” button is blinking, press it. The Cricut will automatically score, then cut the image.
- Fold along all the score lines, and Glue the flap on the side to the inside of the box.

For the Flower:
- Create a new project or delete the box from your page.
- Go to CARTRIDGES, then scroll down until you see 3D FLORAL HOME DECOR, then click on VIEW ALL IMAGES.
- Select the flower you would like to create (you can see the one I chose highlighted in green in the images above), then select the INSERT IMAGES button in the lower right corner.
- Resize the image (they’re connected, so they’ll resize altogether). As you can see, there are 3 different colors. These coordinate with the different paper you will use for each one. So you’ll be loading three different color choices when you send it to the Cricut.
- Select GO.
- It will first cut the leaves, so place the Scrapbook Paper
- When the “C” button flashes, push it and the Cricut will start cutting. When finished, remove the paper from the mat.
- Repeat steps 5 through 7 with the petals, and choose a different paper.
- Repeat steps 5 through 7 again with the final cut.
- Bend all the petals, then Glue everything together.

If you liked this post, check out these other Cricut Tutorials:

Gigantic Vinyl Wall Decals (purchase the SVG Files HERE).

The Most Useful Cricut Supplies and Accessories
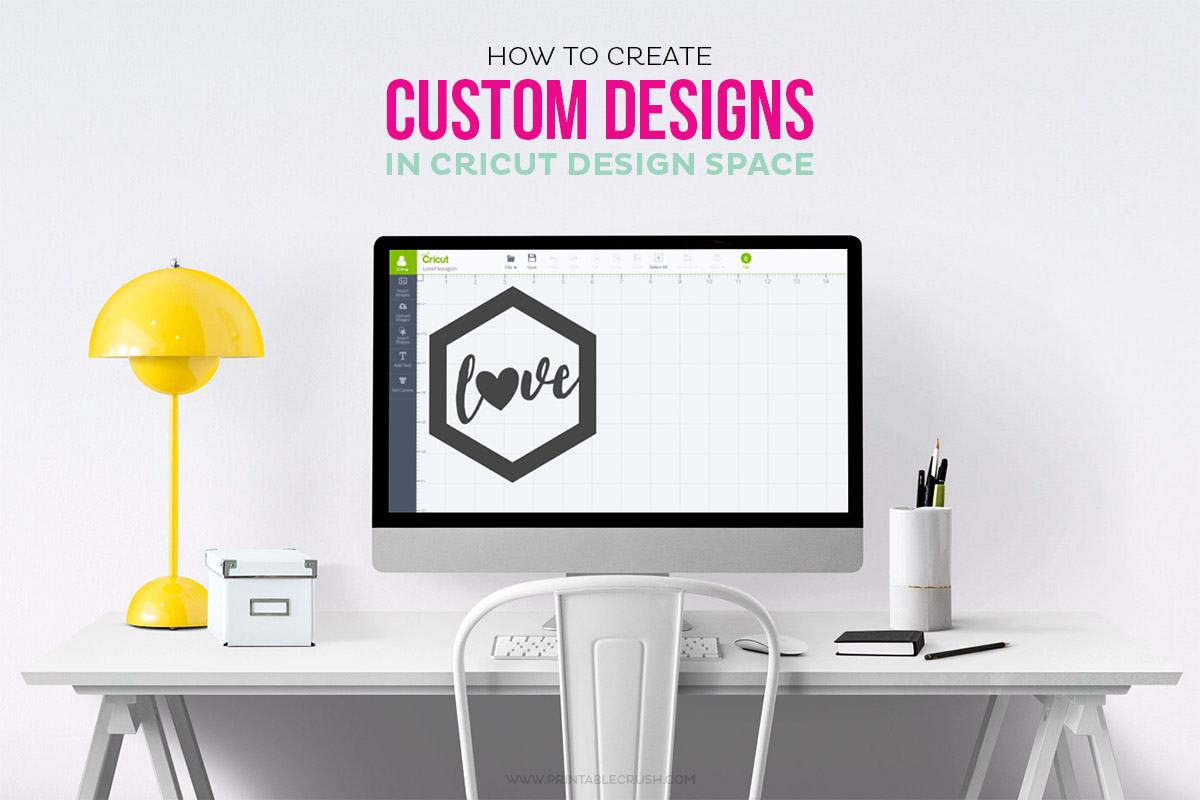
How to Create Custom Designs in Cricut Design Space
This is a sponsored conversation written by me on behalf of Cricut. The opinions and text are all mine.


GERALDA LEMOS says
Quero receber idéias e projetos.