
Use premade graphics and the Cricut to Make Your Own Stickers and Stationery Party Favors. Create them to match the invitations you design!

Remember those Custom Invitations I posted last week? Well, they were so cute I decided to make a whole stationery set…and you can too! I’ve included stickers, a letterhead, and thank you card for these Stickers and Stationery Party Favors! The great thing about creating your own designs is that you know everything will match…no searching for hours in stores for the perfect stationery! I used images from the Design Cuts Inspiring Artist Collection (Sale ends SOON, so act fast!)

I used the Teddy Woods set and Good Vibes graphics for these. I’m dying to use the Winterflora set…isn’t everything gorgeous?
Supplies To Make Your Own Stickers:
- Design Cuts Inspiring Artist Collection
- Cricut Explore Air 2
- Cricut Mat
- Full Sheet Sticker Paper
- White Paper
- Paper Trimmer
- Cricut Design Space™
- 8X10″ Cellophane Bags
- Scoring Board (optional for the thank you card)

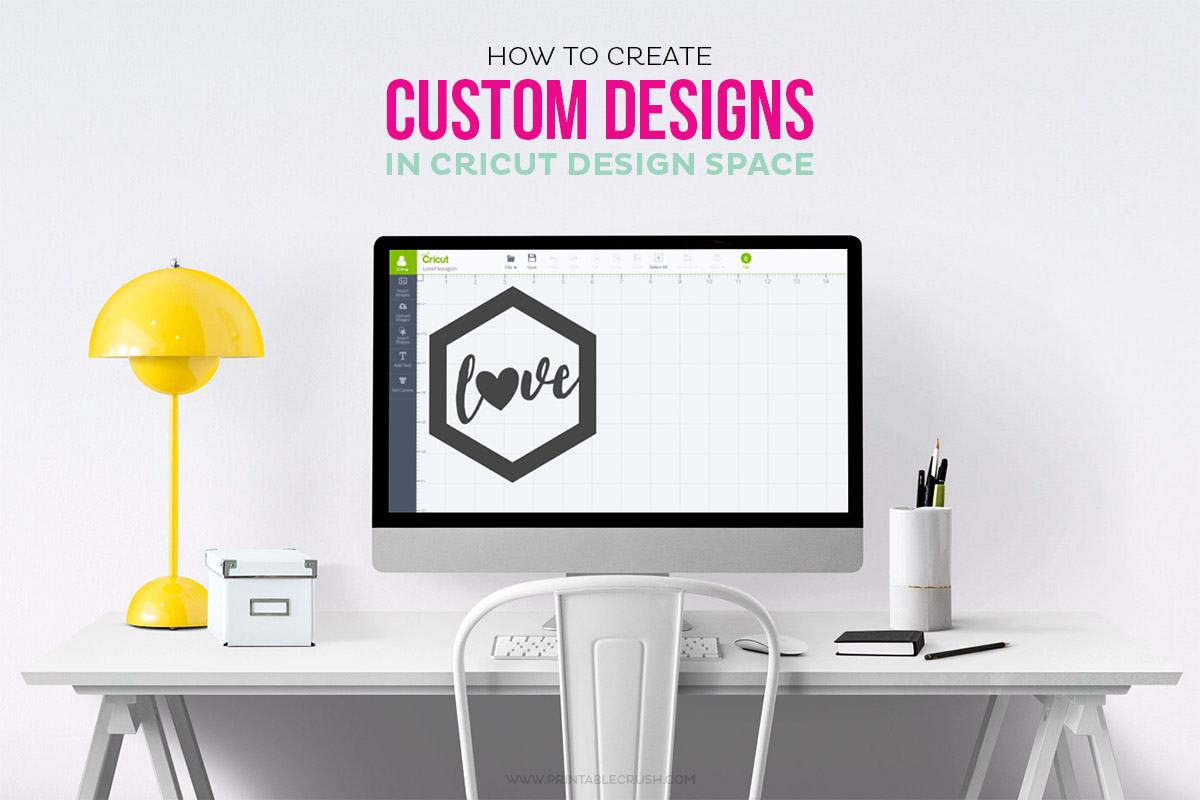
The stickers are SUPER easy to make with the Cricut. However, if you don’t have one, you can cut some out by hand…they just won’t be on a sheet like I have below. Either way, it’s a fun, custom gift to give! To create them in Cricut Design Space™, read the instructions below:

Step-By-Step Directions to Make Your Own Stickers:
- First, you’ll create a new document in Cricut Design Space™ .
- Upload the files from Design Cuts Inspiring Artist Collection one at a time. See my tutorial for uploading files to Cricut Design Space.
- After all the files are uploaded, select all of them, then press INSERT IMAGES.
- Resize all the images so they fit on a page. For Google Chrome, they need to fit in an area that is no larger than 5″x8″
- If you want to layer images (like I did with the XOXO sticker), you’ll need to select the quote and XOXO sticker, then go to LAYERS in the right-hand panel in design space, then select FLATTEN.
- To make sure all the images print and cut on the same page, select them all with your mouse, then go to the LAYERS panel again and select ATTACH.
- Then, you’ll send it to the machine by clicking on GO. Make sure the page is 8.5″X11″, then print it on the Sticker Paper. After that, you’ll put the image on the Cricut Mat and cut it out.
- When it’s finished cutting, trim off the registration marks.

I placed everything in the 8.5″X11″ Cellophane Bags, then I cut out an extra page of stickers so I could place a sticker on the back.
I’m not into giving out toys that will go straight to the trash.I think these are SO cute, plus it’s something that girls will actually use. My daughter already went through all the stickers and paper that I printed out.

You can add other elements like notecards, envelopes, pencils, and erasers, too. And you can create everything from scratch with my tutorial for designing invites in Canva. All you have to do is change the dimensions! Once again, the deal for these graphics ends soon…so get it before it’s gone!

Tutorials Similar To Make Your Own Stickers:

Create Custom Invitations in Canva
Create Custom Designs in Cricut Design Space

12 Graphic Design Bloggers You Need to Follow


[…] Create Your Own Print and Cut Stickers and Stationery […]